Description
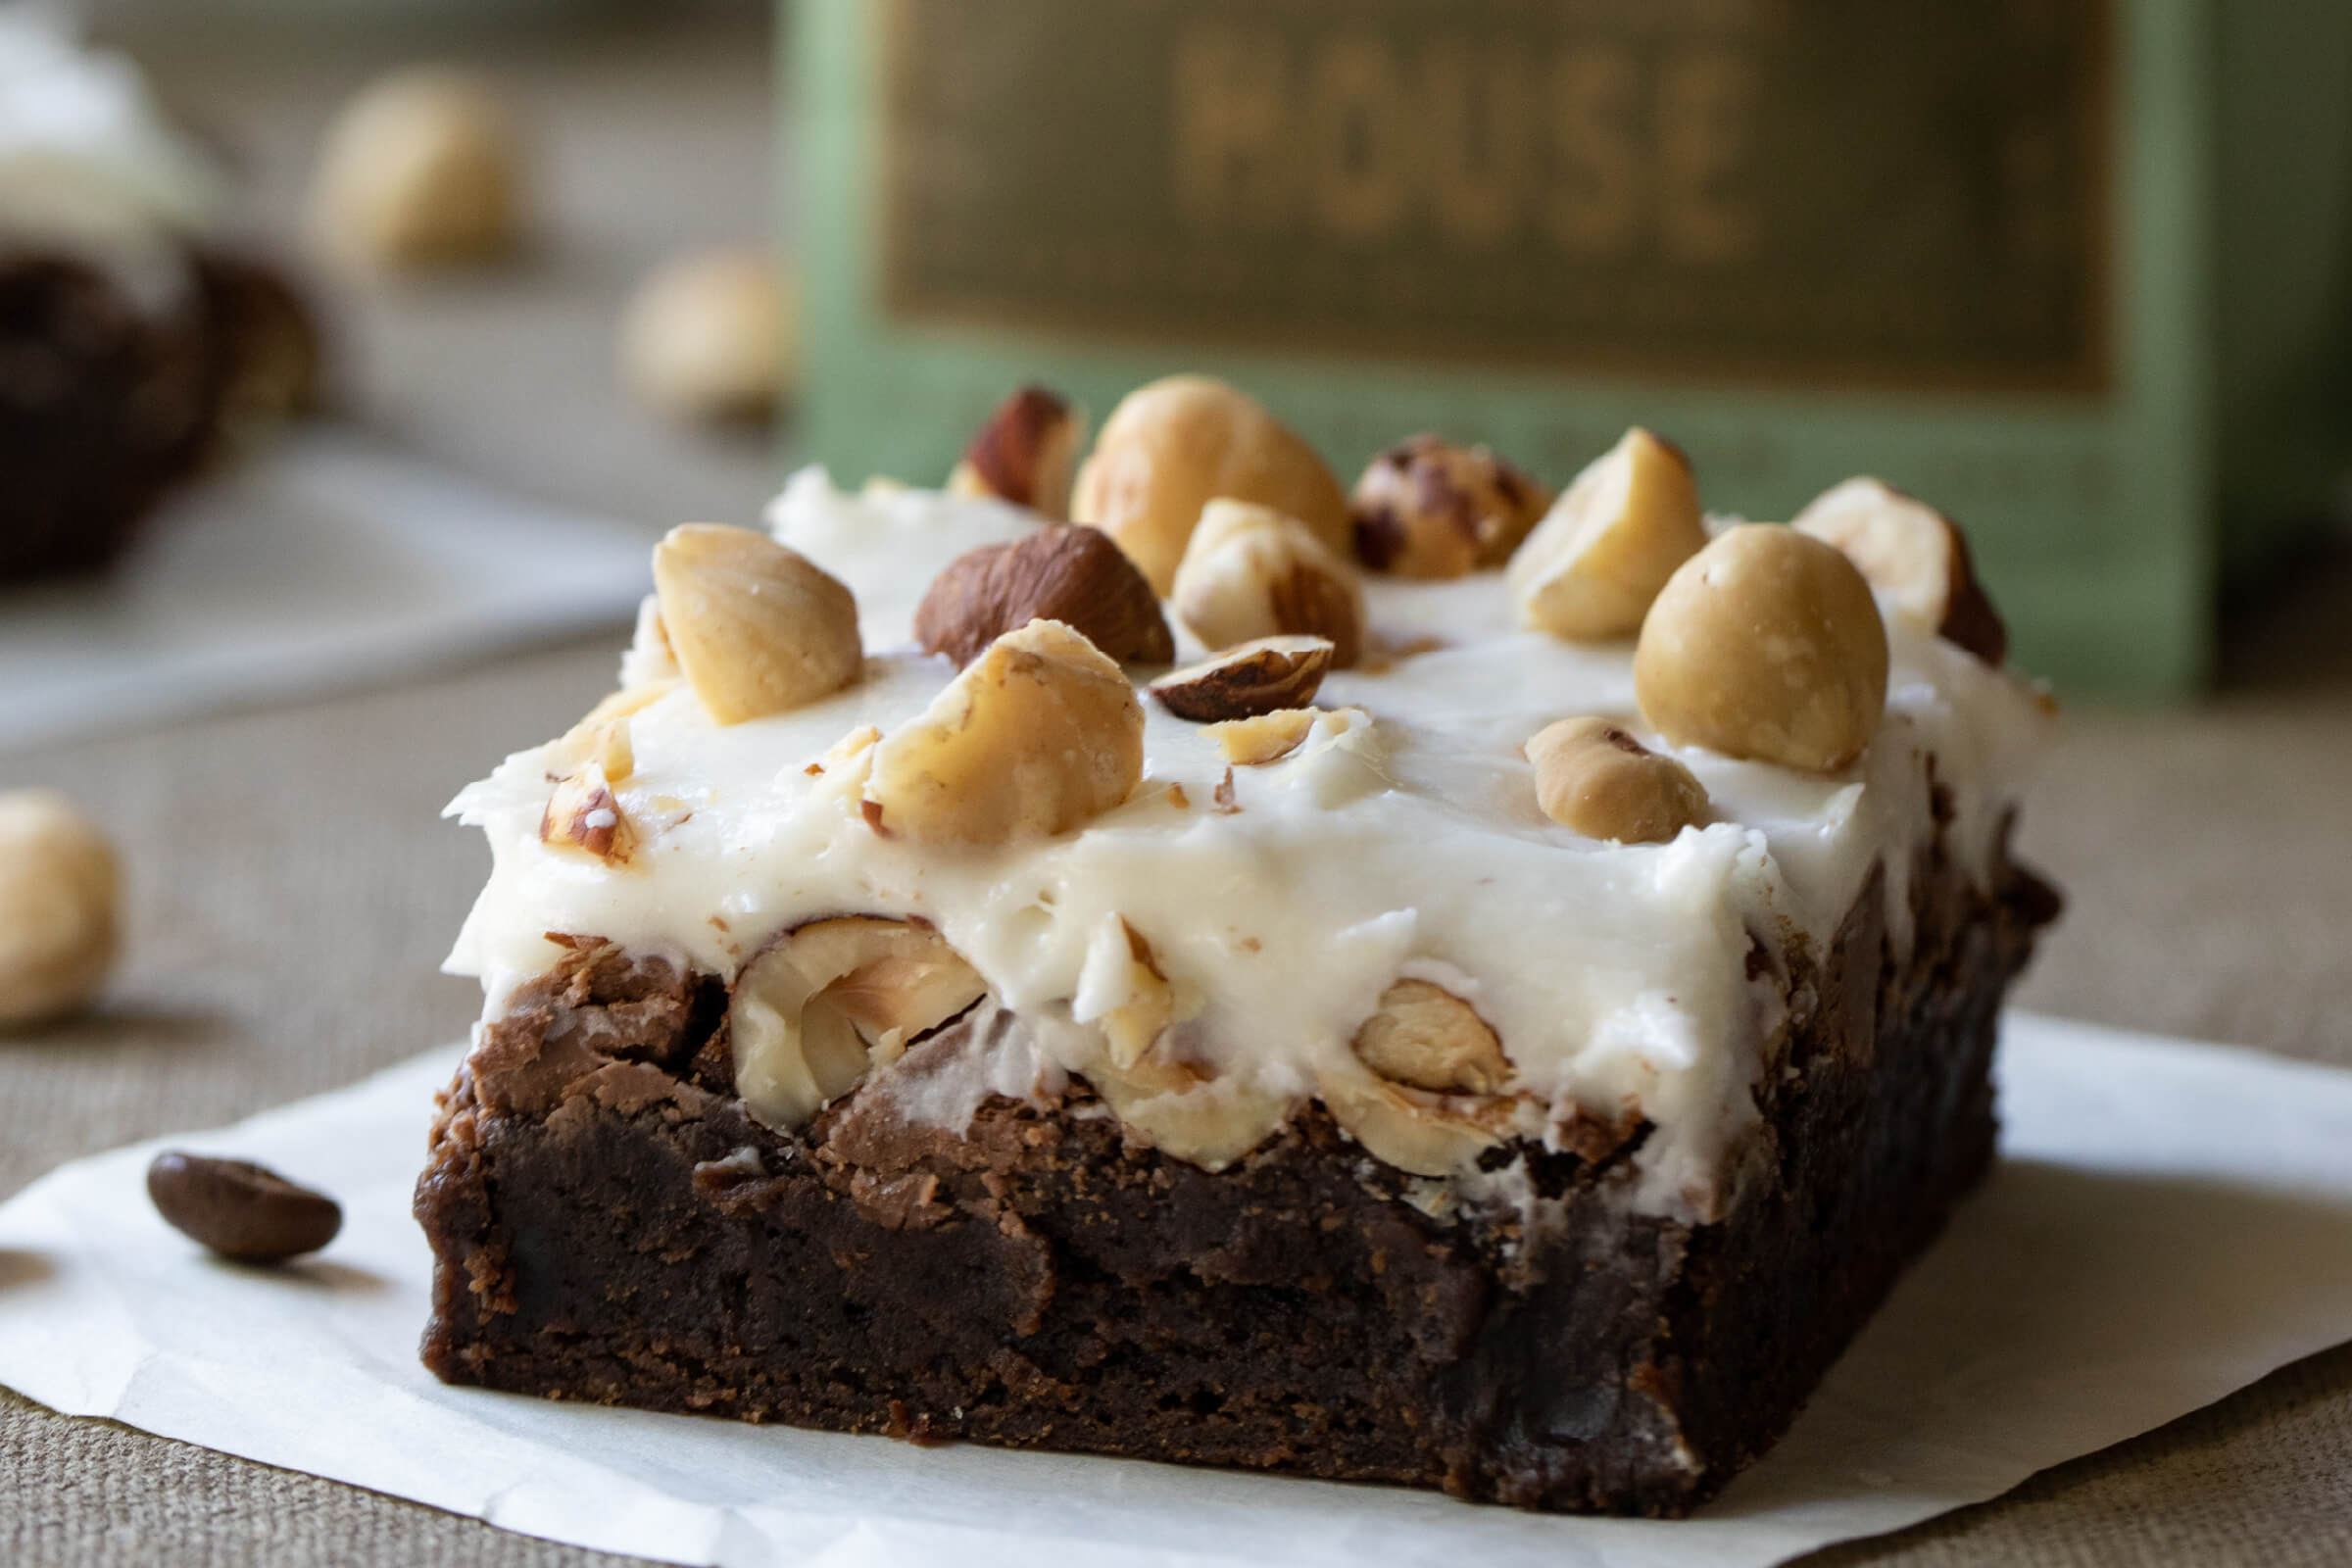
These brownies are made rich and decadent with the addition of milk chocolate and finely ground coffee beans. Hazelnuts add a pleasant roasted, nutty flavor with a crunchy bite. The simple frosting adds a creamy note to bring the dessert together for an unforgettable treat!
Ingredients
Brownies
- ¾ cup raw hazelnuts
- ½ cup unsalted butter
- 3 ounces unsweetened baking chocolate
- 3 tablespoons Stumptown Coffee Roasters House Blend coffee beans, ground to a fine powder
- 1 ¾ cup sugar
- 1 teaspoon vanilla extract
- 3 large eggs
- ¼ teaspoon fine sea salt
- 1 cup all-purpose flour
Frosting
- 2 tablespoons unsalted butter, softened
- 2 cups powdered sugar
- 4 tablespoons milk (any variety)
- ¼ teaspoon vanilla extract
- Pinch of fine sea salt
- ¼ cup roasted hazelnuts, roughly chopped
- ½ cup milk chocolate chips
Instructions
- Preheat the oven to 375 degrees F. Cut a piece of parchment paper so that it lines the bottom and two sides of an 8-by-8-inch baking pan. The paper should extend beyond the two sides to allow for lifting the brownies out of the pan once cooled. Spray the paper and the inside of the pan with non-stick cooking spray.
- Halve some of the raw hazelnuts with a knife so that have you a mix of whole and halved nuts. Set aside.
- Add the butter and baking chocolate to a small saucepan. Turn the burner to medium heat and warm, stirring often, until the butter and chocolate are melted. Remove from the heat and stir in the finely ground coffee beans.
- Place the sugar in a large bowl. Stir in the melted coffee-infused chocolate and butter from the saucepan until smooth. Add the vanilla and then stir in the eggs. Mix in the salt and then fold in the flour until all ingredients are combined into a thick brownie batter.
- Pour the batter into the prepared pan. Top the batter with chocolate chips and then with the hazelnuts. Gently press them into the batter.
- Bake for 25 to 30 minutes, until a tooth pick inserted into the center comes out clean. Cool for 15 minutes.
- While the brownies cool, make the frosting. Add the butter and powdered sugar to a stand mixer fitted with the paddle or whisk attachment. Turn to low and then increase to medium high to blend the ingredients into a crumbly powder. Add the milk and vanilla, mix on high for about 1 minute, until the frosting is light and creamy. Mix in the salt.
- Use the parchment to lift the brownies out of the pan. Remove the parchment and place them on a serving plate. Frost the brownies and then sprinkle with the chopped hazelnuts. Slice into 9 or 16 squares for serving.
Description
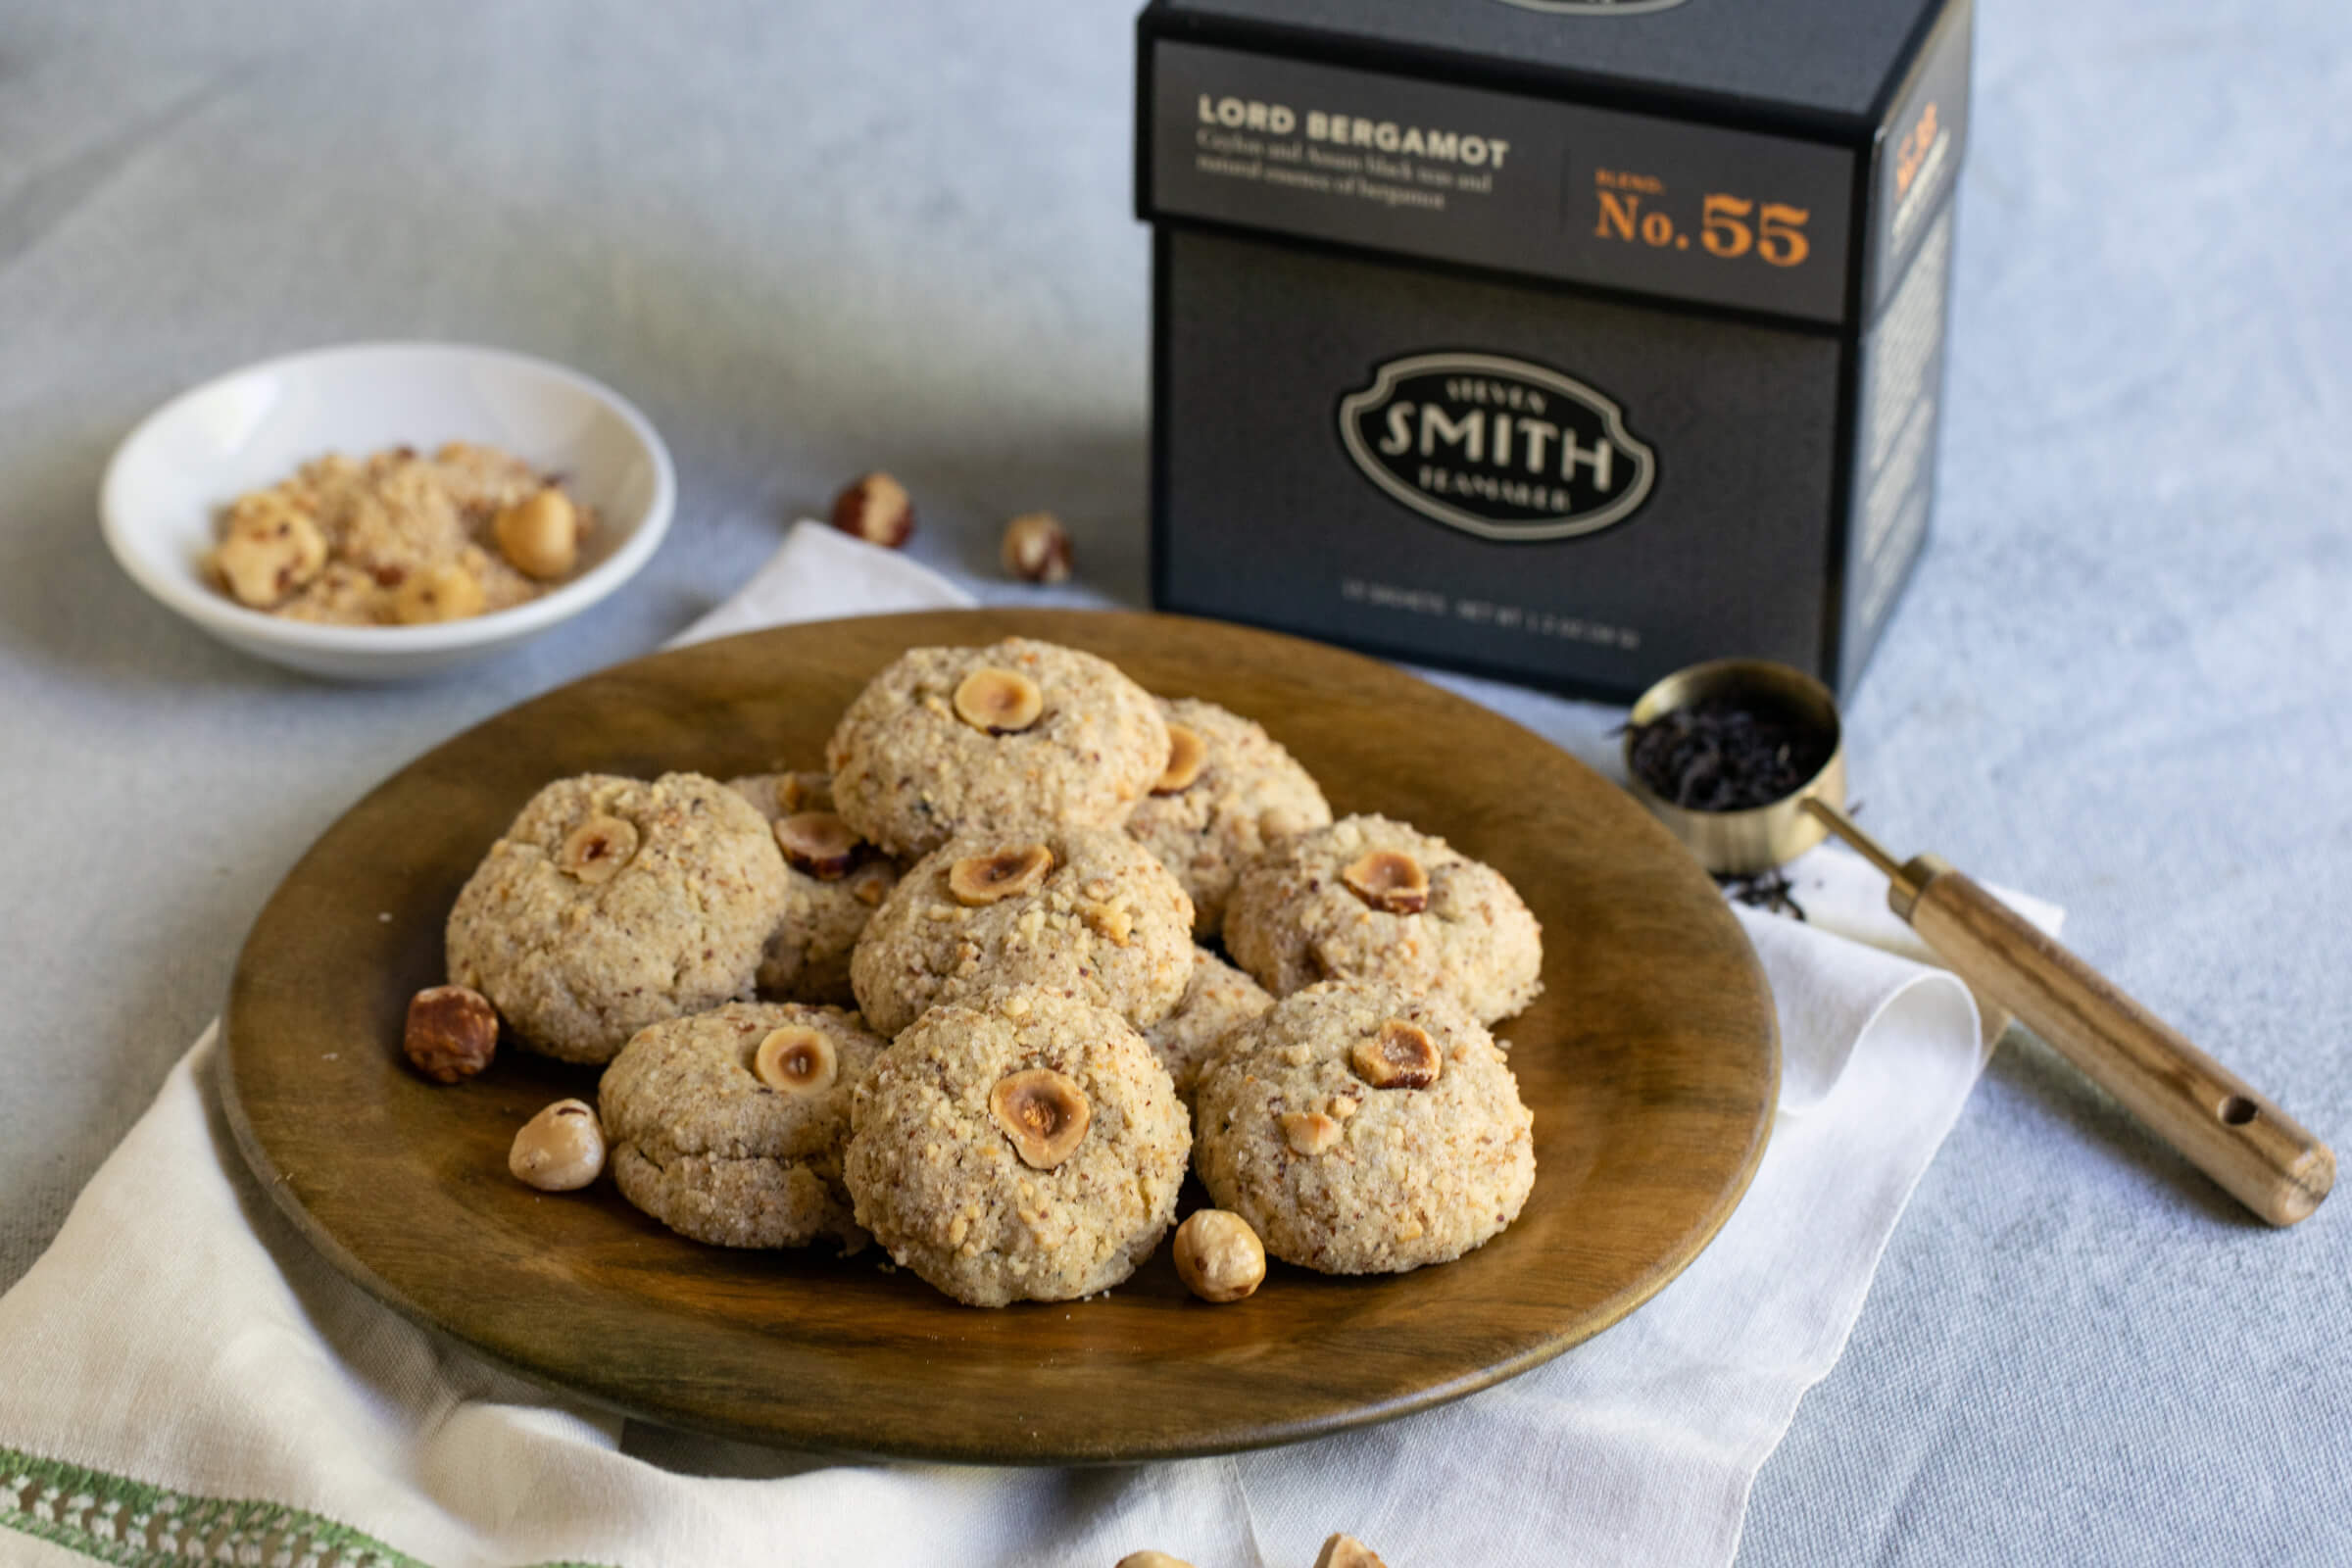
These cookies are coated in delicious finely chopped hazelnuts and studded with small bits of floral Earl Grey tea. They are best paired alongside a steaming cup of the tea to bring out their bright flavors.
Ingredients
- 2 teaspoons Steven Smith Teamaker Lord Bergamot Blend No: 55 (1 sachet)
- ¼ cup light brown sugar
- ½ cup unsalted butter, softened
- ½ teaspoon vanilla extract
- 1 large egg
- ¼ teaspoon fine sea salt
- 1 cup all-purpose flour
- 1/3 cup finely chopped roasted hazelnuts, plus 6 hazelnuts, halved
- 2 tablespoon granulated sugar
Instructions
- Preheat the oven to 375 degrees F and line a baking sheet with parchment paper.
- Add the tea leaves to a spice grinder and pulse until finely chopped. Toss the tea with the brown sugar in the bowl of a stand mixer. Mix on low for 1 minute to combine the flavors. Add the butter and cream for 2 minutes, until smooth and pale brown in color. Scrape the sides of the bowl.
- Mix in the vanilla and egg. Add the salt and then the flour. Mix on medium-high until all ingredients are combined into a cookie dough. Place the bowl with the dough in the refrigerator for 15 minutes.
- Spread the finely chopped hazelnuts on a plate and stir in the granulated sugar. Remove the cookie dough from the fridge and roll into 12 balls, a little smaller than the size of a golf ball. Roll each ball in the hazelnuts and sugar. Place the cookies on the baking sheet. Press a hazelnut half in the top of each.
- Bake for 10 minutes, until the edges begin to brown and the centers are firm. Let cool on the pan for 3 minutes, then transfer to cooling rack to cool completely.
Description
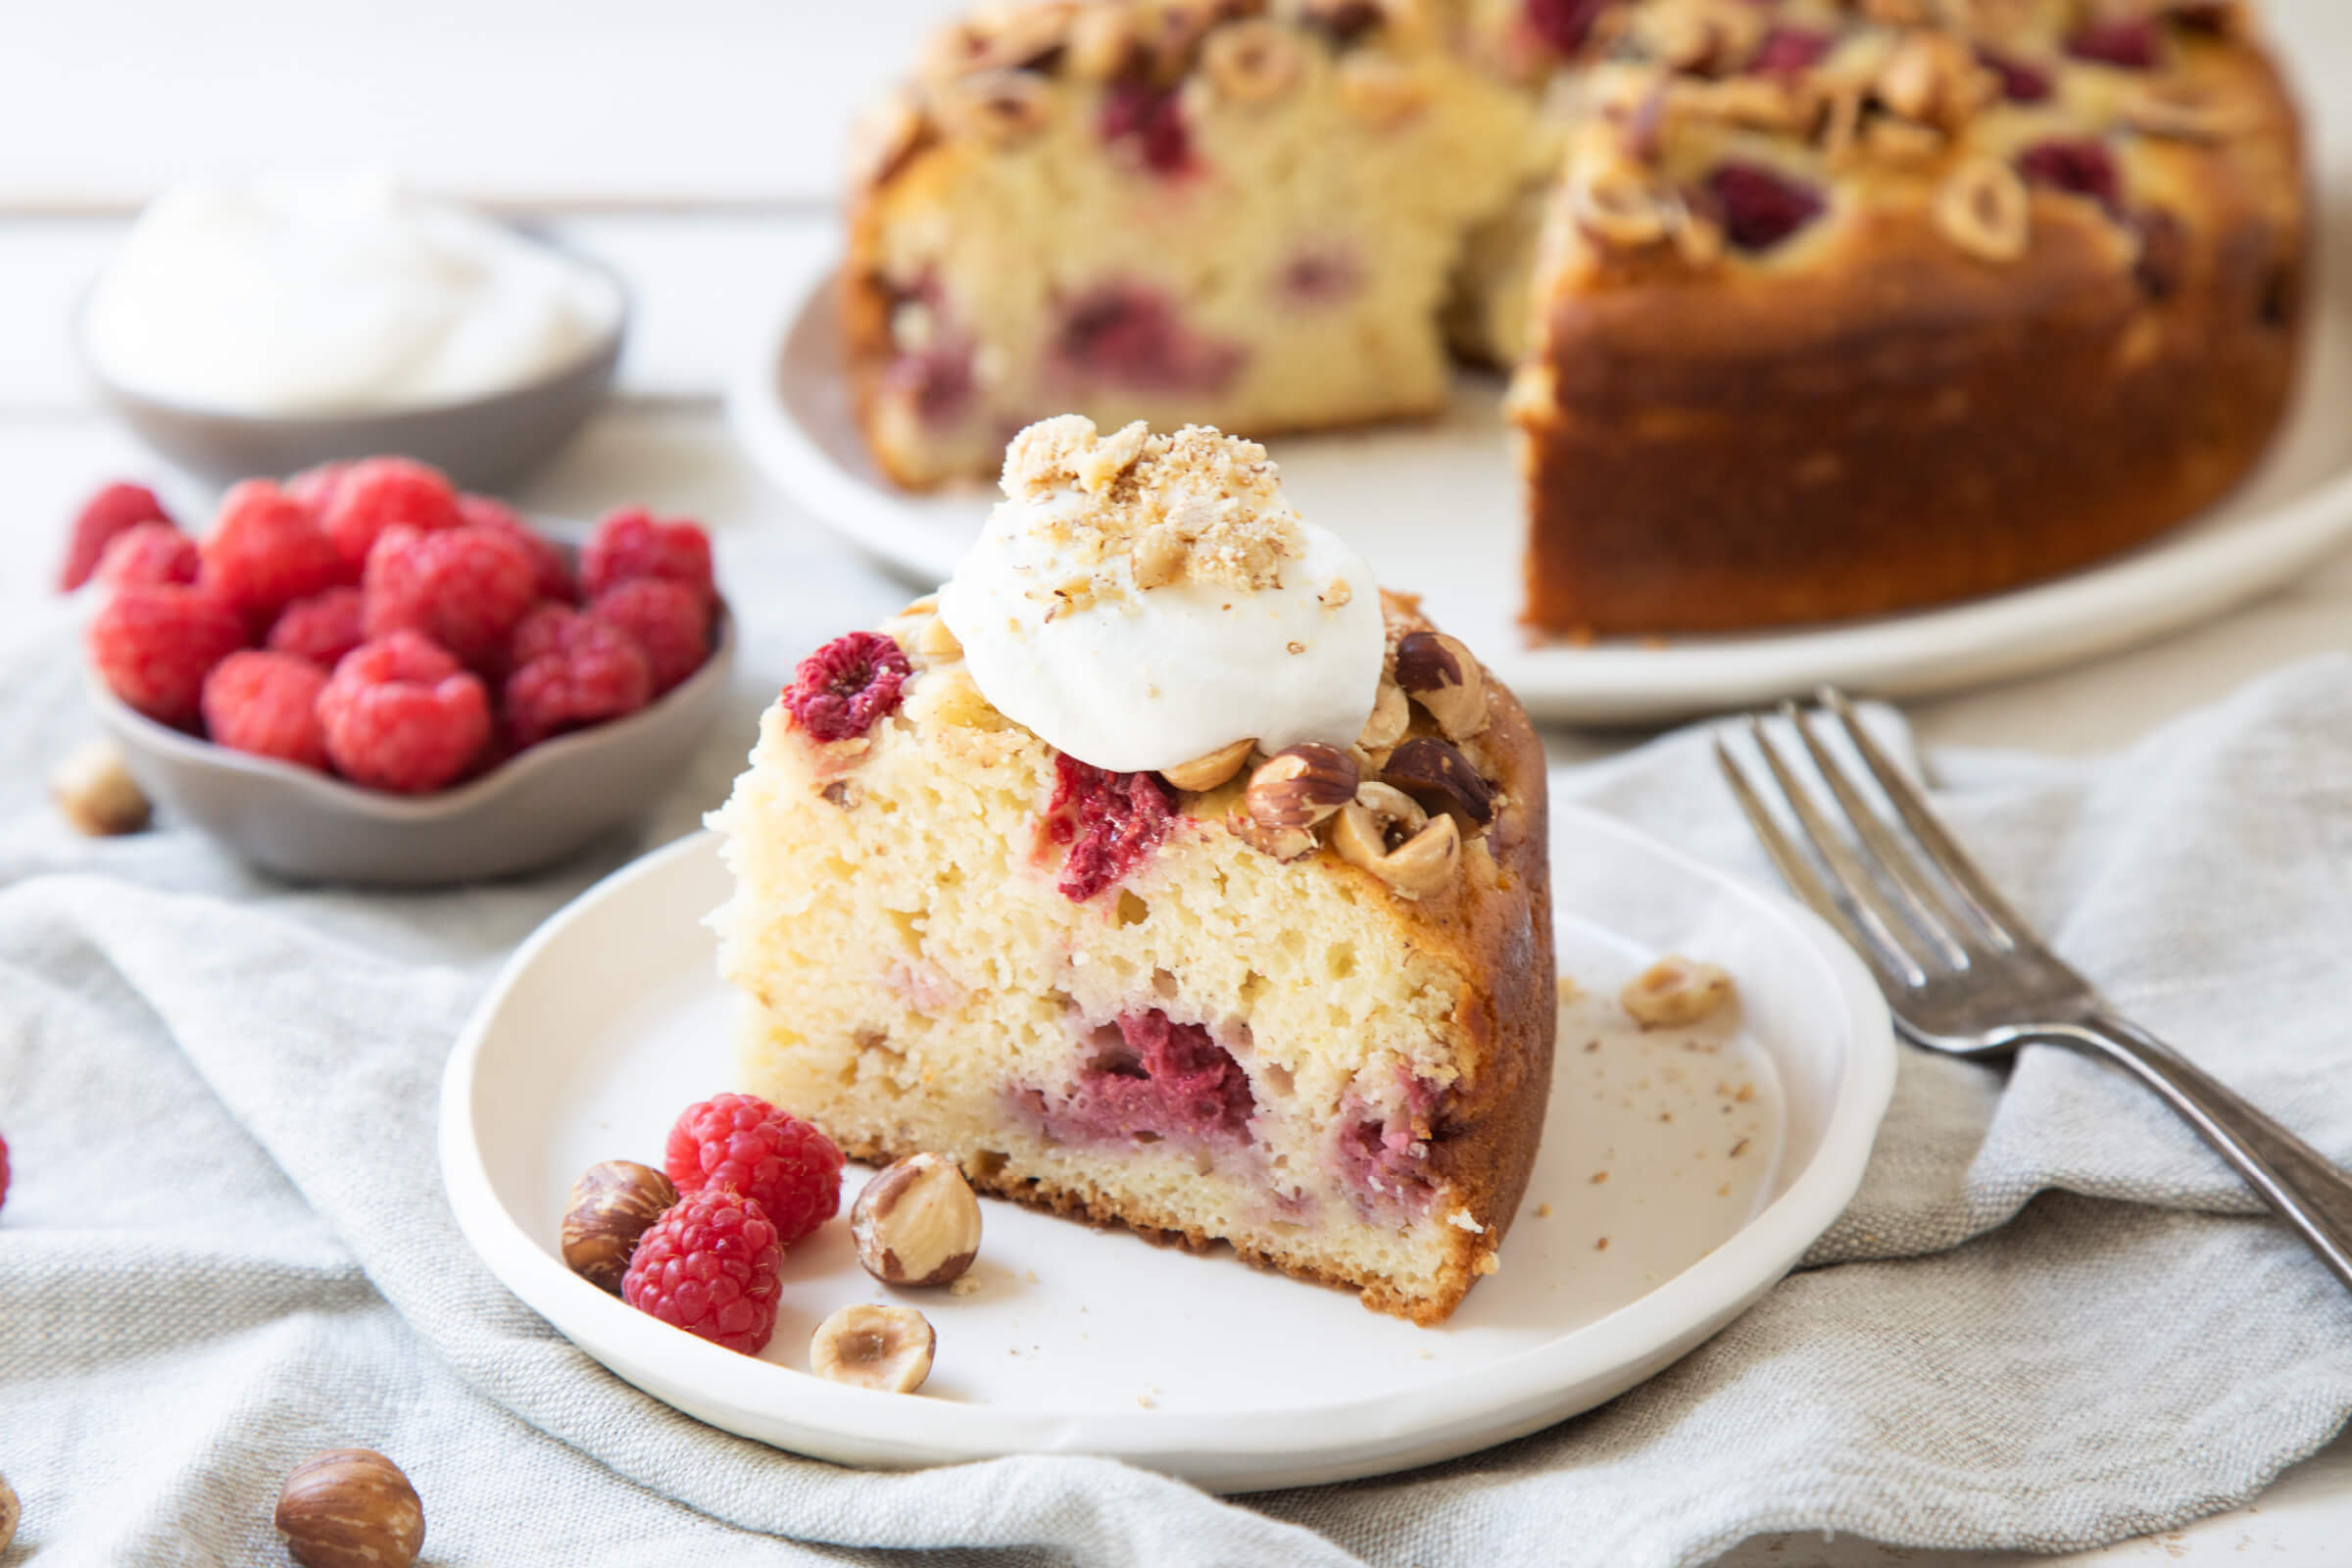
This simple cake makes a winning dessert for a special dinner and it is sure to please guests at your next brunch. Ricotta cheese creates a dense, tender cake while crunchy hazelnuts and sweet raspberries add a balanced touch of seasonal flavors and textures.
Ingredients
- ¾ cup raw hazelnuts
- 1 ½ cups all-purpose flour
- 1 cup sugar
- 2 teaspoons baking powder
- 1 teaspoon lemon zest
- ½ teaspoon fine sea salt
- 3 large eggs
- 1 ½ cups whole milk ricotta cheese
- 1 teaspoon vanilla extract
- 1 cup fresh raspberries, divided
- Whipped cream for garnish, optional
- Chopped roasted hazelnuts for garnish
Instructions
- Preheat the oven to 350 degrees F. Line the bottom of an 8-inch cake pan with parchment paper. Spray inside of the pan, including the parchment, with non-stick cooking spray.
- Place ¼ cup of the hazelnuts in a small food processor or spice grinder and pulse until they resemble a fine meal. Crack or half part of the remaining hazelnuts and set aside the cracked and whole nuts.
- Add the hazelnut meal and the flour to a large bowl. Stir in the sugar, baking powder, lemon zest, and salt. In a medium bowl, stir together the eggs, ricotta, and vanilla. Fold this into the dry ingredients until a smooth batter forms.
- Reserve half of the raspberries. Stir the remaining berries into the batter. Pour the batter into the prepared pan. Top with the reserved raspberries and the reserved whole and halved hazelnuts.
- Bake for 55 to 60 minutes, until a toothpick inserted into the center of the cake comes out clean. If the hazelnuts look like they are browning too quickly, place a tented piece of aluminum foil over the cake while it continues to bake.
- Let the cake cool for 20 minutes. Carefully invert the pan over a plate to release the cake. Flip the cake back over so that the raspberries and hazelnuts are on top. Slice and garnish with whipped cream, if desired, and more chopped hazelnuts before serving.
Ingredients
FOR THE CRUST:
- 6 ounces (1½ sticks) unsalted butter, room temperature
- ¼ cup plus 2 tablespoons sugar
- Salt, pinch
- 1¾ cups plus 1 tablespoons flour
FOR THE FILLING:
- 1⅓ cups unsalted pistachio kernels
- 2 tablespoons flour
- ¾ cup plus 1 tablespoon sugar
- 6 ounces (1½ sticks) unsalted butter, room temperature
- 2 eggs
- ½ teaspoon salt
Instructions
- Preheat oven to 350 degrees.
FOR THE CRUST
- In the bowl of an electric mixer combine all ingredients and mix with paddle attachment until fully incorporated. Remove from bowl and press evenly into a fluted 9-inch tart pan that has been sprayed with pan spray. Chill in refrigerator for at least 30 minutes. Remove from refrigerator, line bottom of tart pan with a circle of parchment paper, cut to size. Fill with dry beans, enough to cover the parchment paper. Par-bake the shell until light golden brown, about 10 minutes, remove from oven and cool completely. Once cool, discard the beans (or store for later use).
FOR THE FILLING
- Pulse the pistachios in a food processor until very coarsely chopped (some of the pistachio will be mealy and the remainder will be coarse). Turn pistachios into a mixing bowl, add all other ingredients and combine with a spatula until fully incorporated.
- Fill the par-baked tart shell with the pistachio filling, smooth the top with a spatula, and bake for 30-40 minutes, until filling is golden brown and set. Test for doneness by inserting a clean knife or toothpick in the center—it should come out clean and the tart should not jiggle. If the crust begins to brown before the pie filling is set, cover loosely with aluminum foil and bake until done.
- Serve with whipped cream or ice cream.
Note: Baking time may vary depending on oven and altitude.