Description
You won’t go back to store bought nut butter after making your own. It’s easy to do, tastes so much fresher, you can use any nut or even a blend, and, most importantly, you know exactly what’s going in it. All you need is a food processor or high-speed blender. Each nut behaves differently because of texture and oil content, and different processors will take different times, so it’s really a matter of experimentation.
Ingredients
- 1 cup of tree nuts (choose your favorite)
Instructions
- Roast 1 cup of nuts. You can use raw nuts, but the flavors and ability to make butter are greatly enhanced after roasting in a 350°F oven for 8-12 minutes. The denser nuts – almonds, hazelnuts, Brazil nuts and macadamias – take a bit longer than walnuts, pecans and pistachios. Check after 8 minutes; they should be just browning and aromatic. Allow to cool to room temperature. Hazelnuts can be bitter if you keep on the skin, so place the nuts in a dish towel and rub off most of the skin before processing.
- Add nuts to food processor and pulse on and off, first to crumbs, then continue to process until a paste starts to form. Scrape down sides, then continue to process until desired consistency. This may take 10-12 minutes, sometimes up to 20 minutes in less powerful processors. If it’s not looking like a paste is forming, add a few drops of a nut or olive oil to help the process.
- Flavor (or not). You may just like to eat your nut butter pure and natural, or make your own designer butter adding ingredients such as honey, maple syrup, soy, chili, nutmeg, chocolate (think Nutella) truffle oil, or stir in jam or jelly to make a swirl.
Tips
Storage – It’s best to store the nut butter in a sealed jar in the refrigerator where it will keep for up to a month.
Variations
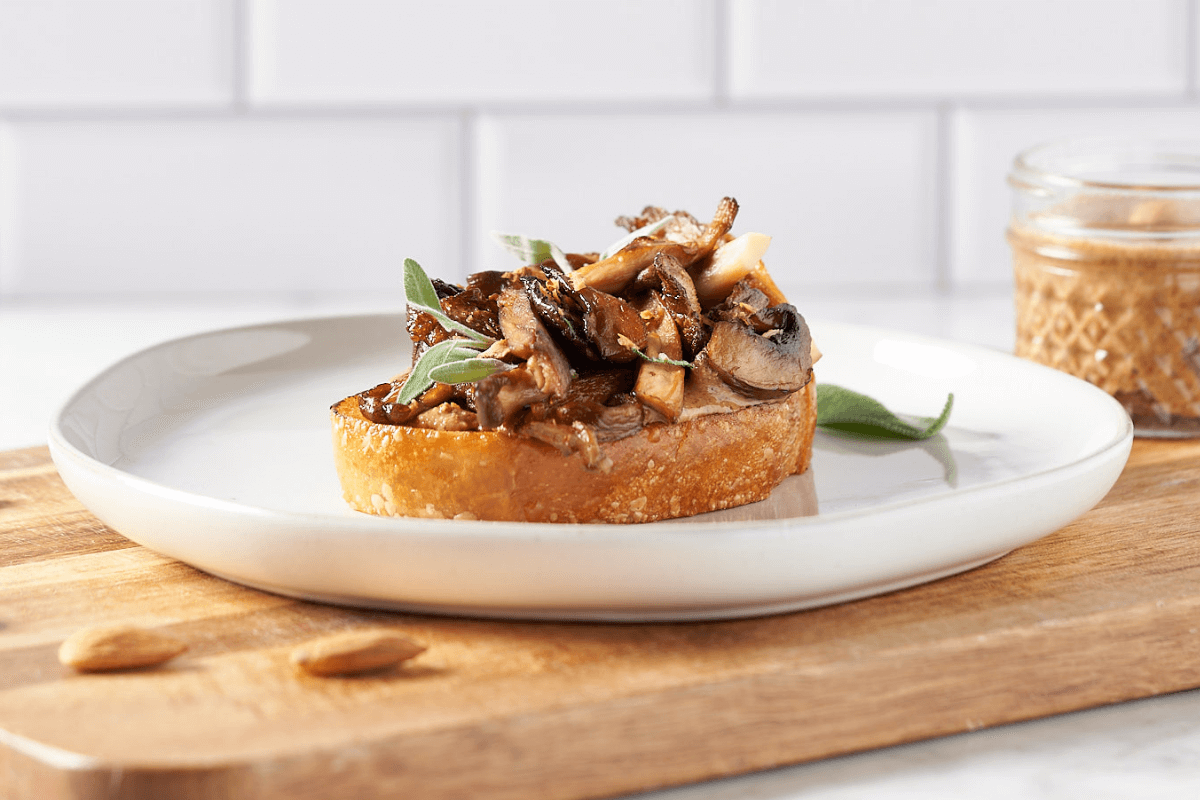
- Almond butter: Spread on warm bruschetta and top with sautéed mushrooms (wonderful with chanterelles if they’re in season) and sage. Finish with a squeeze of lemon and pepper.
- Walnut butter: Spread crackers with walnut butter, then top with brie cheese and a fruit paste such as quince or fig. Then all you need is wine!
- Hazelnut butter: Add to a toasted tomato and cheese sandwich with some fresh basil leaves or arugula and a drizzle of good olive oil to complete the experience.
- Pecan butter: The sweet, rich and toasty notes of pecan butter need little to make it great. Simply spread on grain toast with honey and a sliced banana for a delicious meal.
- Pistachio butter: Spread on pizza crust before topping with vegetables, mortadella and mozzarella.
- Cashew butter: Perfect for Asian-inspired dishes. Whisk cashew butter with soy sauce and lime juice and toss through noodles just before serving.
- Brazil nut butter: Avocado toast spread with Brazil nut butter adds a unique depth and is especially great with a garnish of cherry tomatoes, mint and ricotta.
- Macadamia Butter: Just like real butter, macadamia butter makes the base to a wonderful healthier shortbread, or spread it on hot scones with jam for a decadent treat.
Description
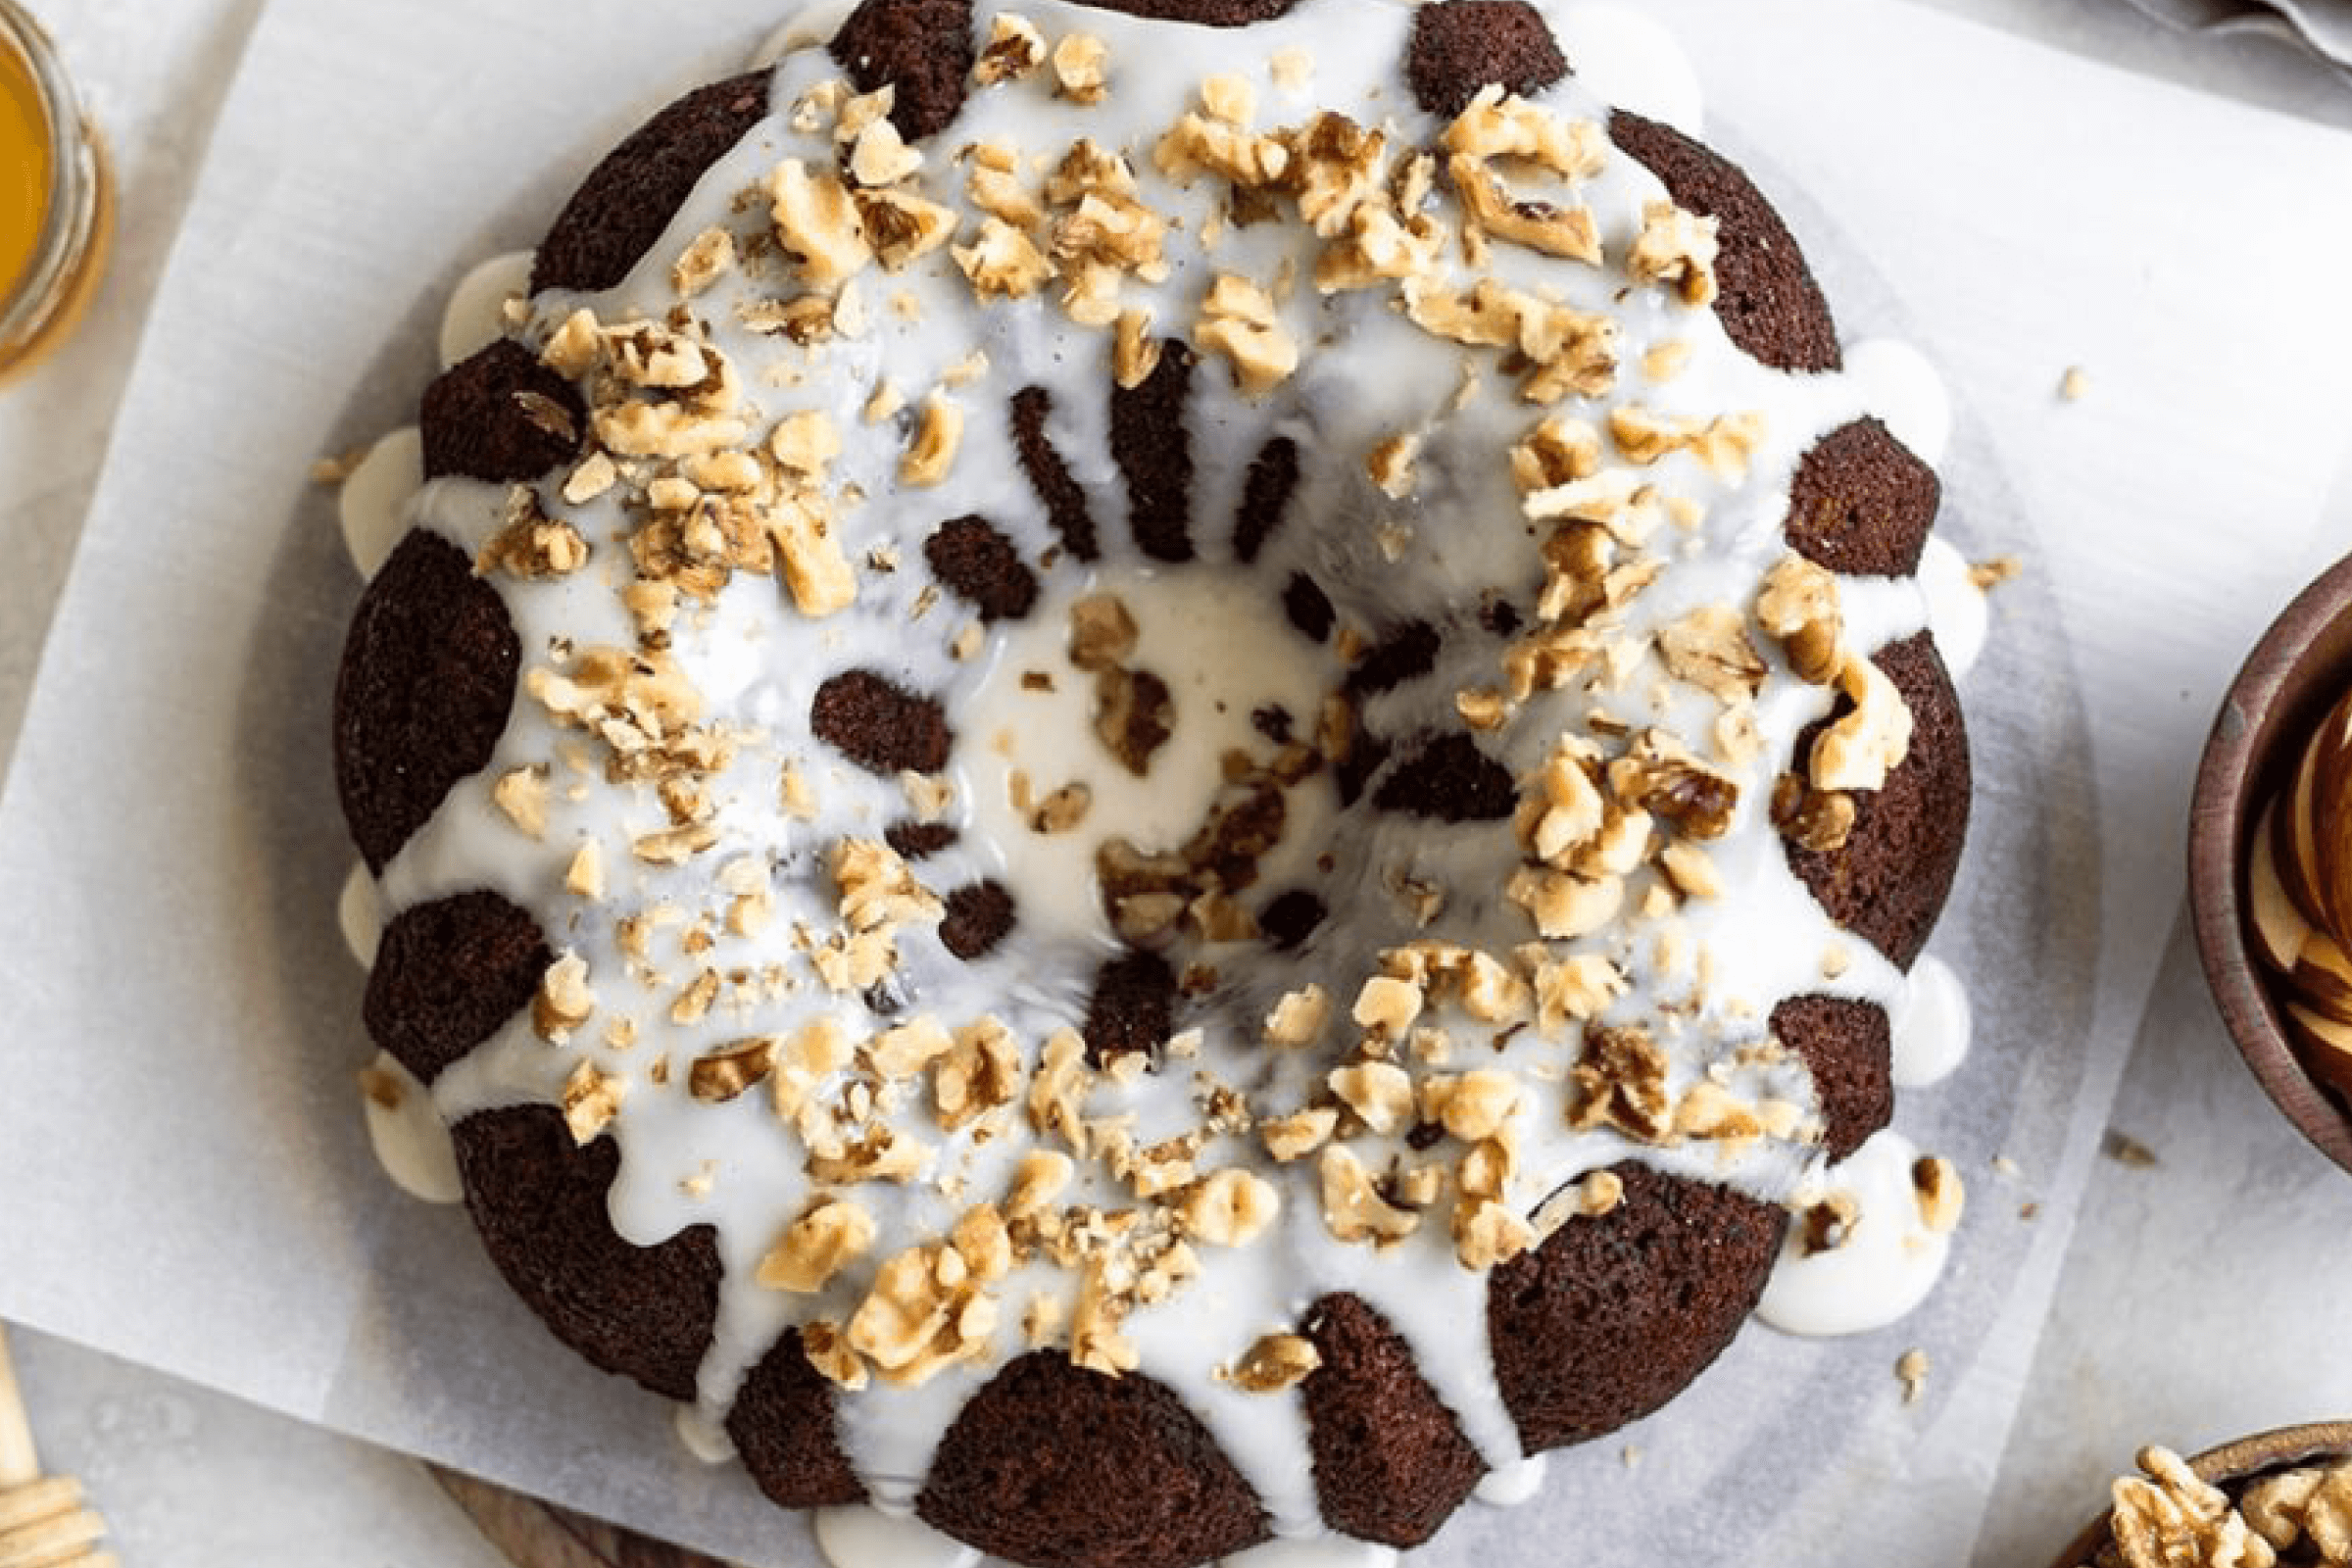
This cake is filled with diced apples, honey, and California walnuts for that extra crunch. It’s topped with a sweet glaze that just takes this easy to make cake over the top.
Ingredients
Cake
- 2 cups plus 1 tablespoon all purpose flour, divided
- ½ cup brown sugar
- 1½ teaspoons baking soda
- 1 teaspoon cinnamon
- ½ teaspoon Kosher salt
- 1 cup honey
- ½ cup apple sauce
- ¼ cup vegetable oil
- ¼ cup orange juice
- 3 eggs
- 1 medium apple, peeled, cored and diced small
- 1 cup roughly chopped California walnuts
Glaze
- 1 cup confectioners sugar
- 1 tablespoon water (or milk)
- 1 tablespoon honey
- ¼ cup chopped California walnuts
Instructions
- Preheat oven to 325°F and heavily coat a 10-cup Bundt pan with baking spray.
- Stir together 2 cups flour, brown sugar, baking soda, cinnamon and salt in a medium bowl; whisk lightly to combine.
- Place honey, applesauce, oil and orange juice in a mixer bowl and beat with the whisk attachment to combine. Add eggs one at a time, mixing well after each addition.
- Slowly add flour mixture and beat for 2 minutes to make a smooth batter.
- Toss the chopped apple and walnuts with the remaining tablespoon of flour and pour into batter. Spread batter in prepared pan and bake for 55 minutes or until golden brown and a toothpick inserted in the center comes out clean.
- Cool the cake for 10 minutes, then invert onto a parchment coated wire rack to cool completely.
- Prepare glaze just before serving. Whisk together sugar, water or milk and honey in a medium bowl. Stir in chopped nuts and drizzle over cake.
Description
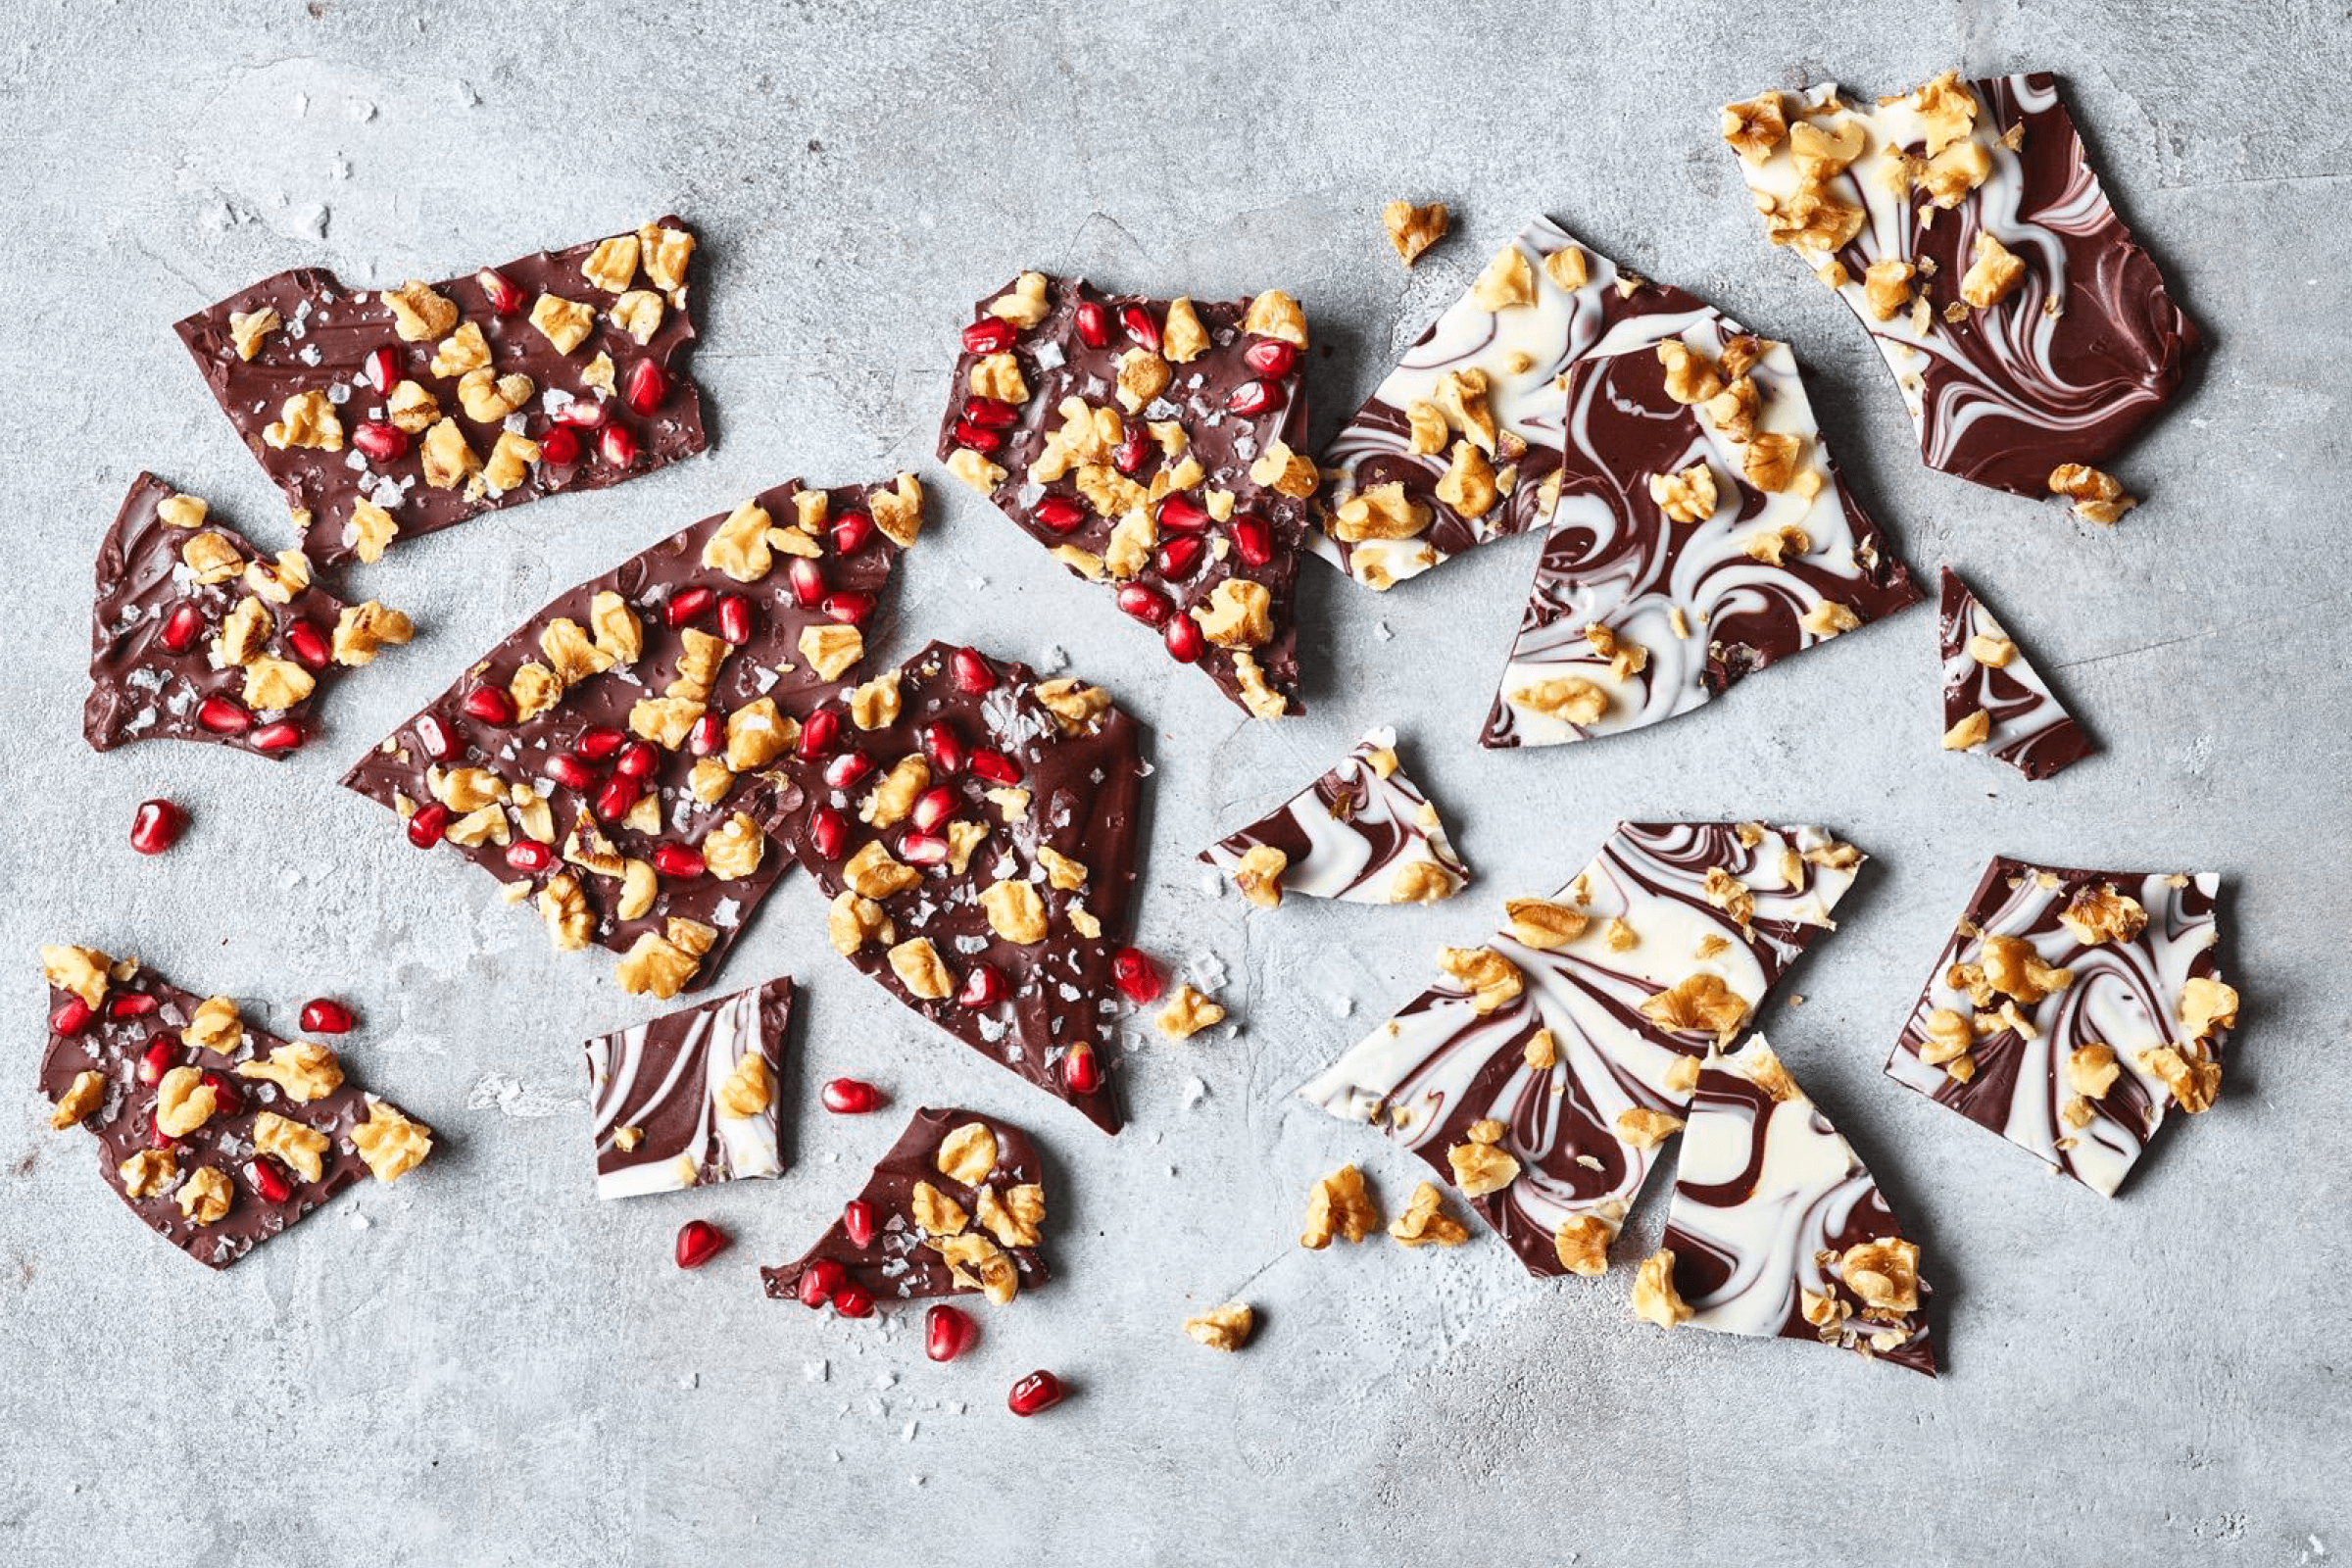
Whether topped with sweet and salty ingredients or marbled with sweet dark and white chocolate, Chocolate Walnut Bark is a delightful treat any time of year.
Ingredients
- 1 1/2 cups California walnuts
- 1/2 cup Pomegranate arils (seeds), fresh
- 1/2 teaspoon course or flaked sea salt
- 1 (12-ounce) bag dark or semi-sweet chocolate chips or 12-ounce chocolate bar, broken loosely into pieces
- 1 (12-ounce) bag white chocolate chips or 12-ounce white chocolate bar, broken loosely into pieces
- 2 teaspoons vegetable oil, divided
Instructions
- Coarsely break or rough chop walnuts and place in a small bowl, leaving aside any skins that have broken off.
- Set pomegranate arils out beside the walnuts.
- Line a baking sheet with parchment paper.
- Melt chocolate. Microwave technique: Place about 2/3 of the dark or milk chocolate chips in a medium glass bowl with 1 teaspoon vegetable oil. Microwave on 50% power for 30 seconds and stir. Repeat until the chips are mostly melted. Add the remaining chips into the bowl and stir vigorously. You will have a thick, melted bowl of chocolate. Repeat the melting steps with the white chocolate and remaining vegetable oil. Stovetop technique: Using a double boiler on medium heat with 1-2 inches of water to the bottom pan, careful to make sure that the water does not touch the bottom of the upper pan (or other heat-safe mixing bowl). Add the chocolate and stir frequently as you see the chocolate begin to melt. Once melted, remove from heat and add the remaining chocolate chips into the bowl and stir vigorously. Repeat for the white chocolate and remaining vegetable oil.
- Using a spatula, spoon out the melted chocolate onto the parchment paper to make a 1/4-inch layer. You can create an optional marbled look by reserving and dropping spoonfuls of the dark chocolate onto the white layer and white chocolate onto the dark layer and using a knife to create an unstructured pattern.
- Sprinkle with walnuts and pomegranate arils and lightly press them into the surface of the chocolate. Sprinkle a few flakes of sea salt across the bark.
- Refrigerate on the baking sheet until firm, then remove from the refrigerator and carefully break it into pieces.
- Store in the refrigerator on layers of parchment paper in an airtight container for up to 2 weeks.
Tips
- Make sure to melt the chocolate slowly at a lower power, stirring frequently. Melting too fast can cause the chocolate to become discolored.
- Melting about 2/3 of the chocolate and then adding the rest to the hot, melted chocolate will yield the best bark texture. Stirring the chocolate well as it starts to cool will also help give the bark the best texture.
- If you are marbling the chocolate, don’t overmix. Swirl back and forth in a zigzag or in circles until you get your desired look.
- Don’t spread too thin or the toppings won’t hold.
- Store in the refrigerator until close to serving, especially in warmer climates or in a warm house, or the bark may become soft.
Variations
1 cup coarsely chopped pretzels
3/4 cup coarsely crushed candy canes
3/4 cup dried cherries
1/2 cup coconut chips or large flakes unsweetened coconut
1/2 cup toffee bits
1/2 cup finely chopped crystallized ginger
1/2 cup mini marshmallows and 1/2 cup coarsely crumbled graham cracker crust
A light sprinkle of flaked smoked sea salt
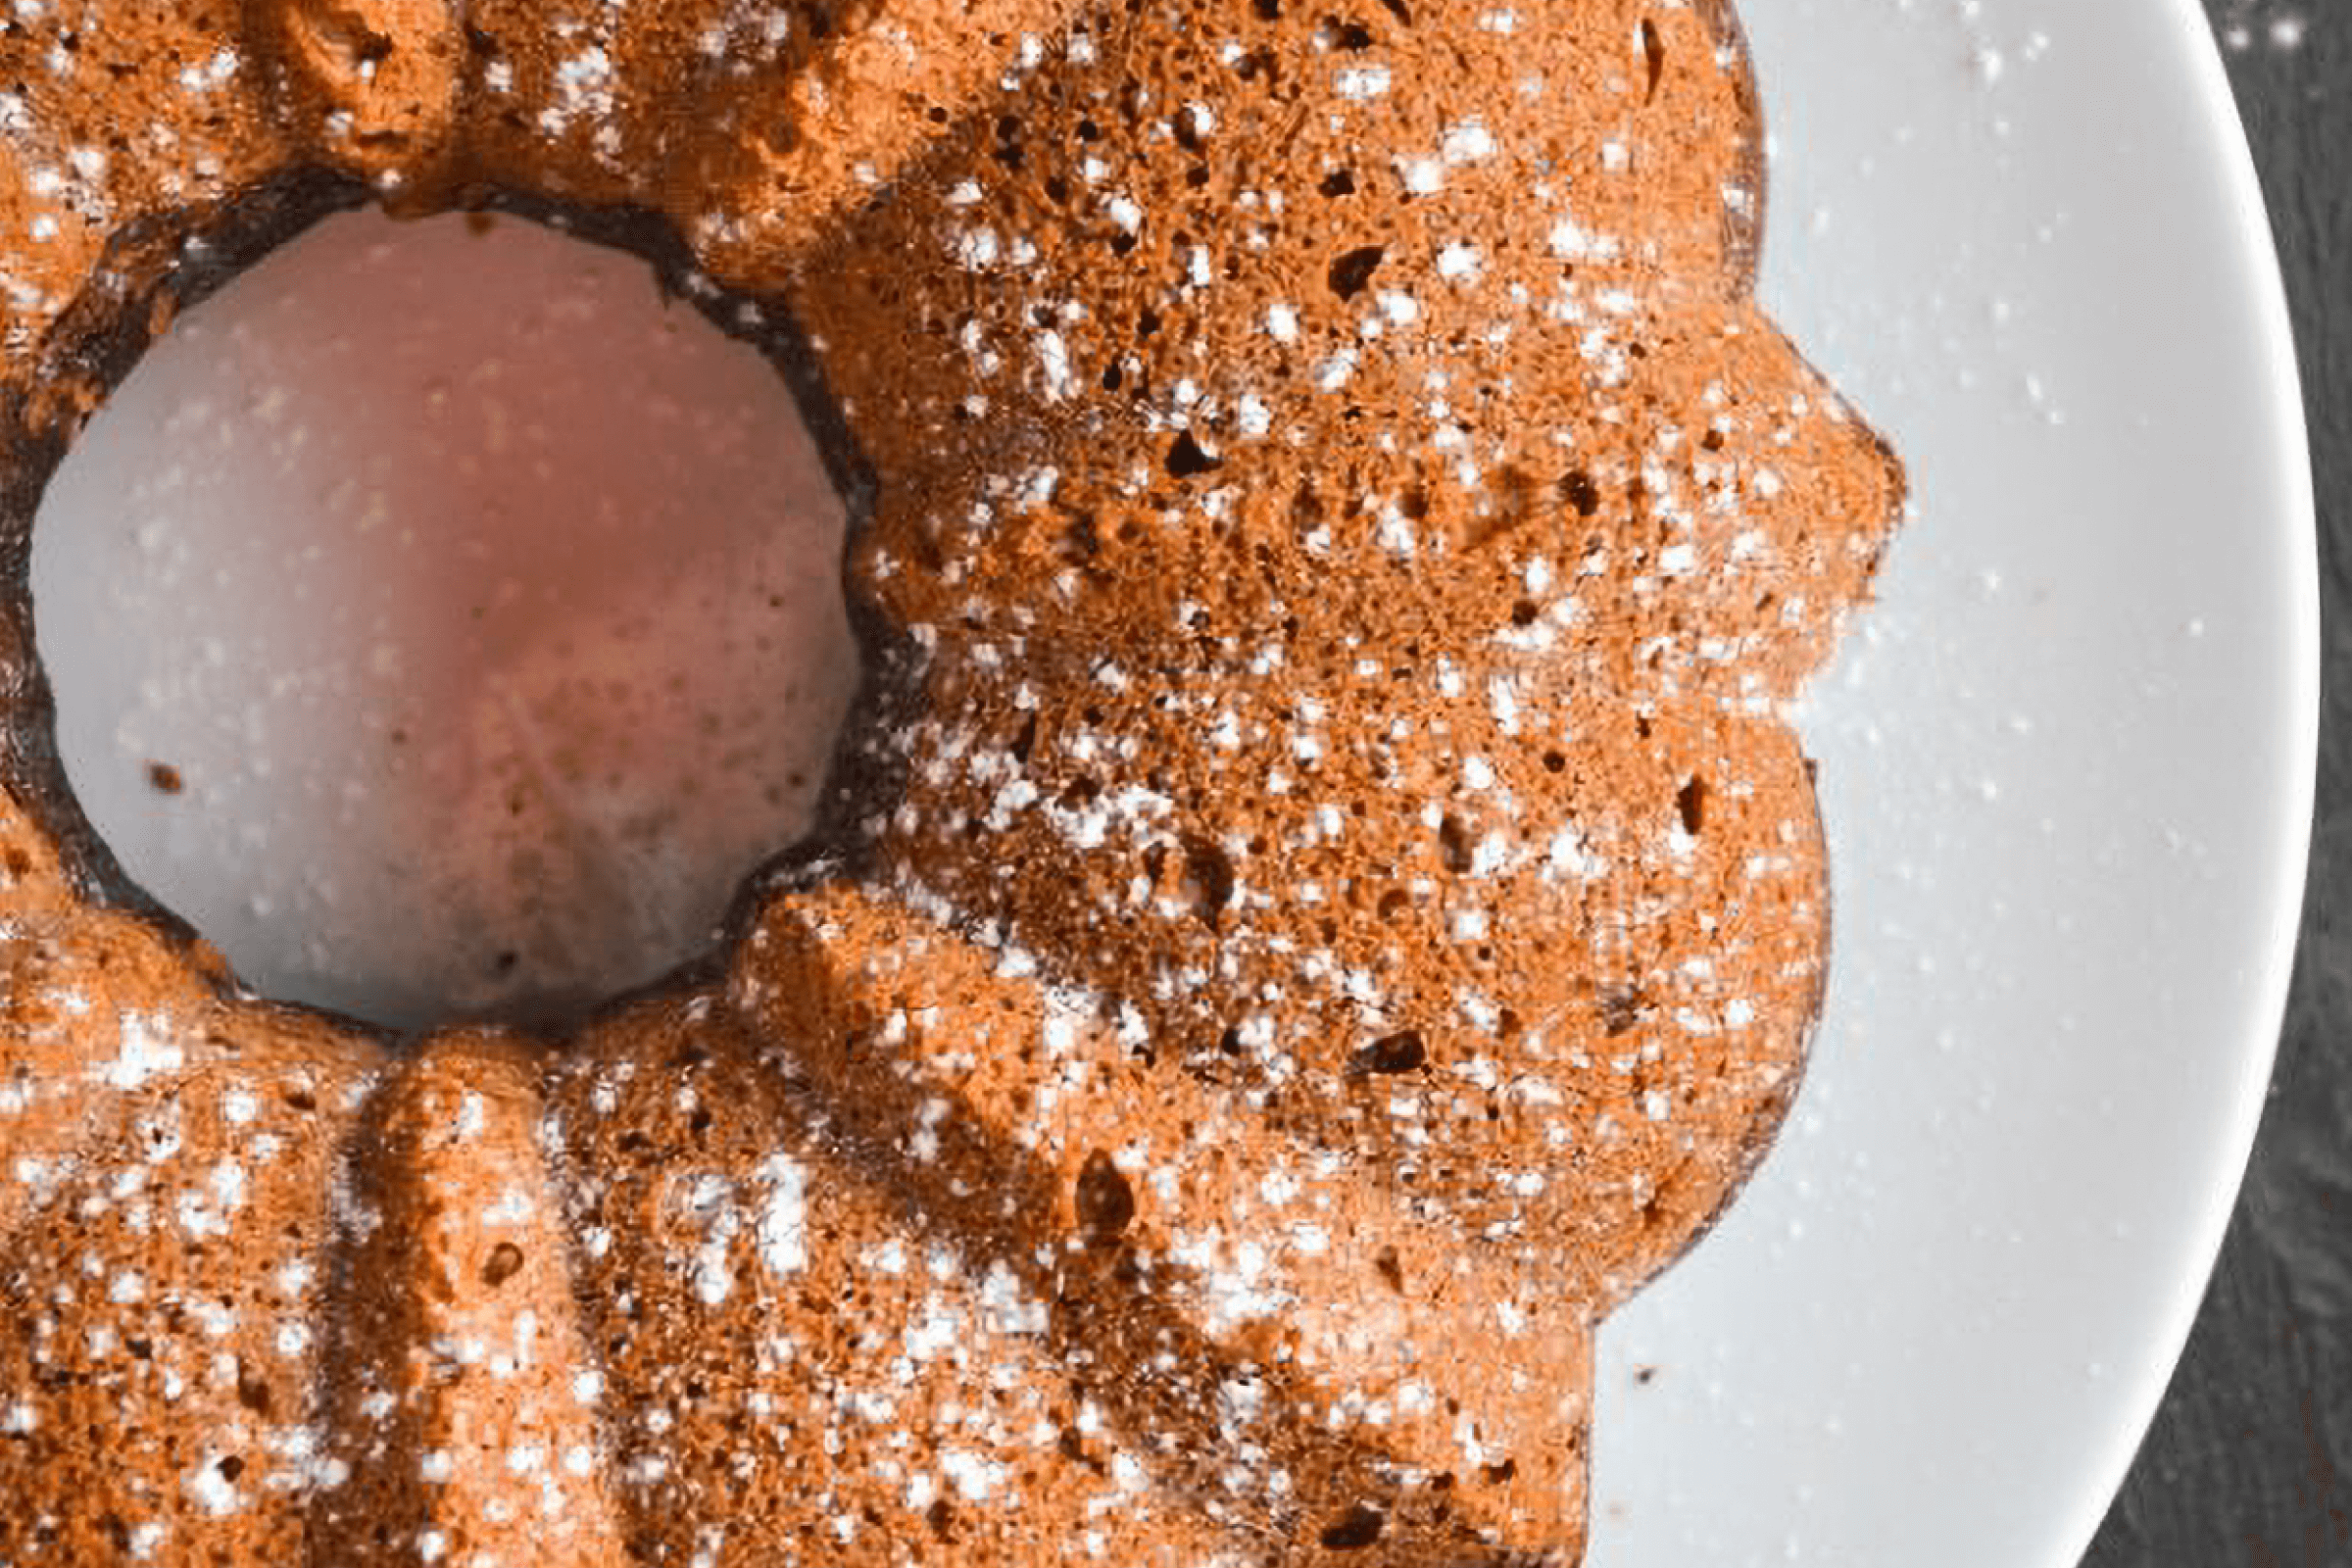
Hazelnuts, cake and chocolate–three things that just belong together. This sweet potato variation will delight the palate of any cake connoisseur!
Description
- 1-2 sweet potatoes, peeled, resulting in 1 cup mashed
- 3/4 cup canola oil
- 2 eggs
- 1 1/2 cup all purpose flour
- 3/4 cup granulated sugar
- 1 teaspoon baking powder
- 1 teaspoon baking soda
- 1 teaspoon cinnamon
- 1/4 teaspoon ground ginger
- 1/4 teaspoon ground cloves
- 1/4 teaspoon nutmeg
- 1/2 teaspoon salt
- 1/2 cup Oregon hazelnuts, finely chopped
- 2 ounces semi-sweet chocolate
- 1/2 teaspoon vanilla extract
- 1/4 cup half and half
Instructions
- Preheat oven to 350F.
- Bring a medium sized pot of water to boil. Add peeled sweet potato and boil until potato is soft. Drain and let cool slightly, then mash. Measure out 1 cup.
- In a large bowl, beat together mashed sweet potatoes and canola oil. Add eggs, one at a time, and beat until well blended.
- In a separate bowl, mix together flour, sugar, baking powder, baking soda, cinnamon, ground ginger, ground cloves, nutmeg, and salt.
- Gradually add the dry ingredients to the sweet potato mixture, mixing until well combined. Finally, add chopped hazelnuts.
- Using a double boiler pot (or two pots stacked together), fill the bottom pot with 2 inches of water. In the top pot, combine chocolate, vanilla extract, and half and half. Turn heat on high and bring water in bottom pot to a boil, stirring the chocolate mixture until it’s fully melted. Remove from heat.
- Transfer ⅓ of the sweet potato mixture to melted chocolate and mix until fully blended.
- Butter the bottom of a 10-inch bundt cake pan. Pour chocolate mixture in and spread evenly. Next, pour sweet potato mixture in. Bake for 45 minutes. Test to make sure the thickest part is done. Let cool slightly before flipping.